F –Stops, shutter speeds and Depth of Field explained.
Many people tell me that they don’t understand the markings and numbers on the lens of their digital SLR camera or have never taken their compact camera away from the automatic settings for fear of not understanding what they are doing.
Like anything else if you understand the basics it all makes sense. To make a picture, any picture we need enough light to activate the sensor or film to produce the image.
The right amount of light will depend on the sensitivity that the chip is set to or the speed of film in a camera combined with how long the shutter is open (known as the Exposure time) and the size of the hole letting in light (known as the Aperture). Luckily for us the digital world has adopted the same ratings of sensitivity of camera sensors as was used in film speeds, 100, 200, 400, 800, 1600, 3200 are the settings most often seen and they logically double as the sensitivity of the film or chip doubles.
So a 3200 film speed setting is very sensitive and can capture images in low light and 100 setting would be used for bright sunny days. These settings are normally set either on the top dial of your camera or deep in your menu settings – just look for film speed sometimes marked as ASA ratings.
So whatever film speed or chip sensitivity you or your camera will be set at is a general range for the conditions you are likely to be in, now you need to set the correct exposure for exact requirements of the image and this is where so many people get confused. Aperture setting and exposure time setting. Why be able to adjust two further things when we already have adjusted the film speed or chip sensitivity?
It’s because by using a combination of the two different effects can be achieved, effects we have all seen in pictures in our everyday life, some pictures are sharp from close to the lens to the far distance view others may have only the eyes of a face focused and everything else blurred. How do we achieve these differences?
Very simply is the answer! All you have to remember is that the light going into your camera is like water into a glass. The size of your glass is the film speed, a total volume of light. How we get that water into the glass is down to you, a big hole or aperture and you can pour a large volume in very quickly a smaller aperture and it takes a lot longer to pour the light in.
Another example would be getting people through a door into a room– a wide door and lots can get through at once, a narrow door and it might be single file, the single file queue will take far longer to get the same number of people into the room than the wide door.
If you have the narrow door open for a long time a long queue can get in and if you have a narrow glass it must be very tall to be the same volume as a short fat one. Remember that length queue for a moment – in light terms into a camera that is the length of the subject that will be in focus.
So how does this help us with F–stops and understanding what exposure to set? F–stops are the numerical markings to indicate the size of the hole in the lens. We now understand that a big aperture lets the light in quickly and a small aperture lets the light in slowly for any given amount of light needed for the correct exposure, but the numbers in F-stops don’t mean anything to the normal man in the street – 2.8, 4,5.6,8,11,16,22? Each step is actually halving the size of the aperture.
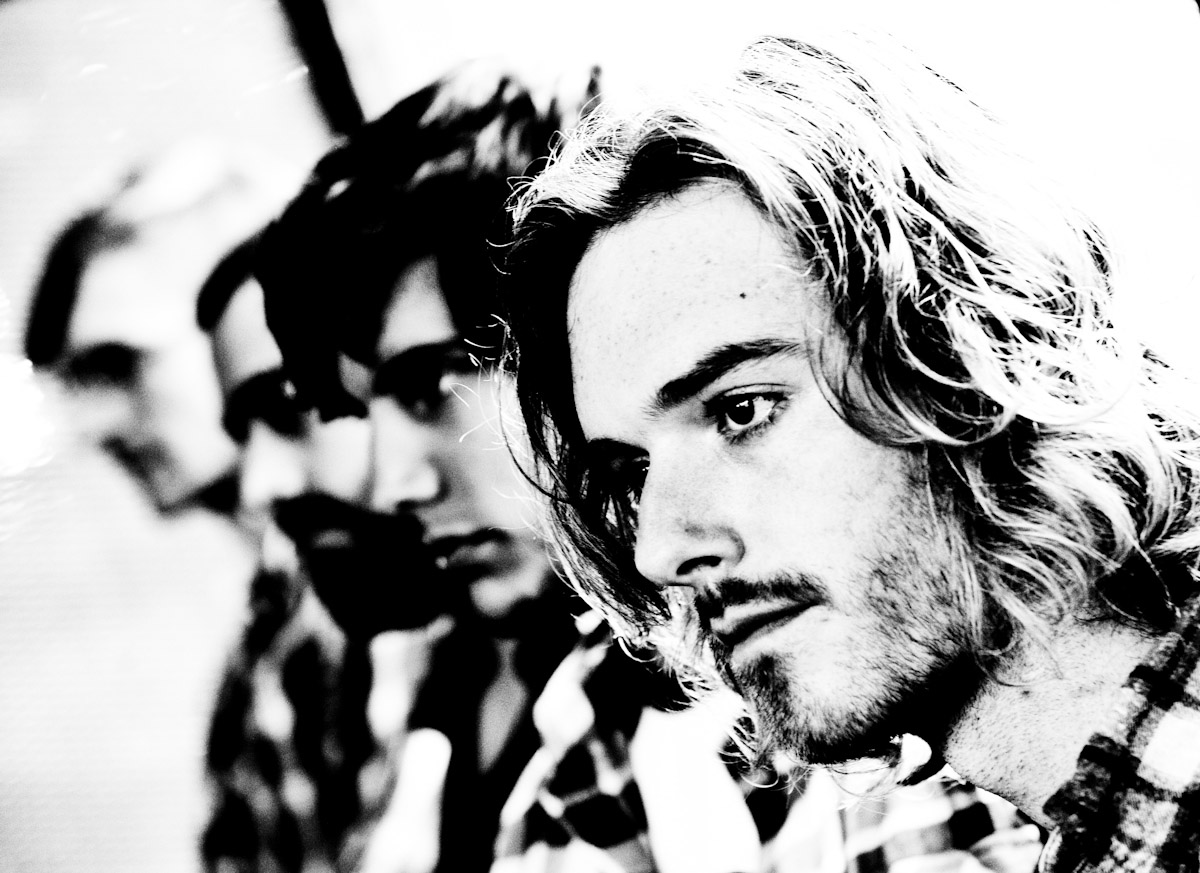
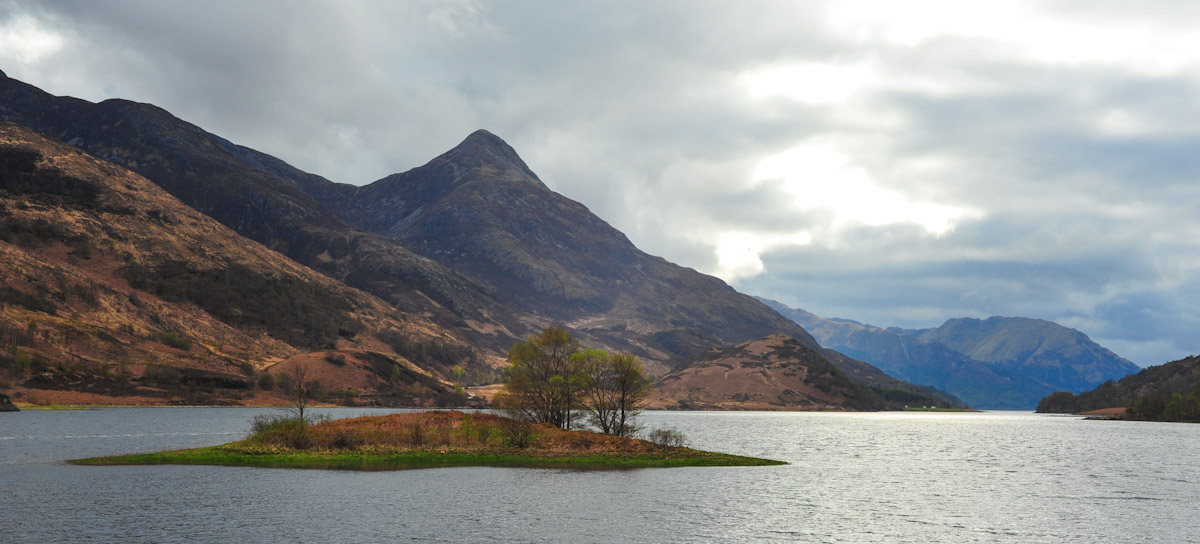
The simplest way to remember is that the higher the number the more will be in focus. If you forget think of the queue, 22 people one at a time will stretch from close to far away – all will be in focus. If you want only a little in focus and the rest in the background to go blurred select the 2.8 (a queue of 2.8 people would be very short wouldn’t it?)
Like everything else in this world there is always trade offs – work 24 hours a day you may become really rich but you won’t have time to spend it, work only an hour a day and you might well have 23 hours of free time a day but you won’t have much money to enjoy during that time. In the same way if we have decided we want a lot of a picture in focus and have set an aperture like F22 (the long queue) then we need to leave the gate (lens aperture) open for a lot longer for the people (light) to get in. So therefore we have to set a slow shutter speed to compensate.
Aperture wide open – short exposure, Small aperture – long exposure. Aperture wide open little in focus, Aperture small lots in focus.
The trade off in photography terms is how long the aperture has to be open, this is controlled by a shutter – a blind that opens and closes for a time that you can set manually. Shutter speeds also tend to be marked in speeds that double 500th, 250th, 125th, 60th, 30th, 15th for example, these are all parts of a second. The trade off happens when you need to take a picture with a shutter speed slower than you can handhold which causes camera shake and a blurred picture.
So what rule of thumb can I remember to make sure I don’t get blurred pictures? This is very simple if you have just a fixed lens on your camera – the lens length on a standard SLR is roughly equivalent to the shutter speed a normal person can hand hold and still get a sharp picture. For example a standard lens is about 50mm therefore a 6oth of a second would probably be the slowest it’s safe to handhold.
With zoom lens the same still applies but you have to look at how much you have zoomed to see what is the safest minimum shutter speed you can use. A 100 mm lens safest at 125th of a second and a 200mm lens zoom one would tend to manually set 250th as a minimum.
On old film cameras we would put a roll of film in of a particular speed and until that film was used you couldn’t adjust the film speed, but these days we have digital cameras where we can adjust the film speed for each shot if need be – fantastic!
So we have chosen a subject to take a picture of, we have framed it how we like it in our zoom – because we might have chosen a zoom of 200mm we have had to set our shutter speed of a minimum of 250th of a second but the camera meter is saying it’s under exposed for the film speed set – the aperture is as wide open as it can be but still not enough light is getting in. What to do? Today we can just increase the film speed and problem is solved.
But what is the trade off? There always is one isn’t there? The faster the film speed the more you are pushing the chip to it’s limits of what it can record, the trade off often is what’s know as “noise”, in the darker areas of the image random colours or grain effects can be seen and the black is not a true black.
When you start getting to real extremes of exposure, night shots, dark caves the only way to assure a correct exposure and no blurring is to start using shutter speeds too slow to handhold and this is where you will start to see people using tripods to steady the image.
So, if you have followed me this far, here is the magic secret that all professional photographers (should) understand. Are you ready? Film speed, aperture and shutter speed all go to make up a correct exposure and beautifully all are related in a very simple way – 1 full F-stop is equal to one full shutter speed movement as are both equal to one full film speed range change.
And if you think about it that’s really logical, because if you double the film speed for any given aperture it’s logical that you need the shutter open for half the time. Or if you are going to keep the shutter open for the same time the aperture has got to be twice as small.
Here’s an example of five settings all with exactly the same exposure for one film speed adjusting only the aperture and shutter:
Shutter Aperture Film speed
30 F16 400 deep depth of field – lots in focus
60th F11 400
125th F8 400
250th F5.6 400
500th F4 400 Shallow depth of field – little sharp
And here’s the same exposure, but varying the film speed and aperture:
125th F4 100 Shallow depth of field
125th F5.6 200
125th F8 400
125th F11 800
125th F16 1600 Deep depth of field
And lastly exactly the same overall exposure but varying the shutter and film speed:
30th F8 100 All five have the same depth of field
60th F8 200
125th F8 400
250th F8 800
500th F8 1600
So to sum up the depth of field is controlled by the aperture, the blur from hand shake is controlled by the shutter speed and the film speed gives you some scope to keep control of the first two.
Copyright Brian Russell