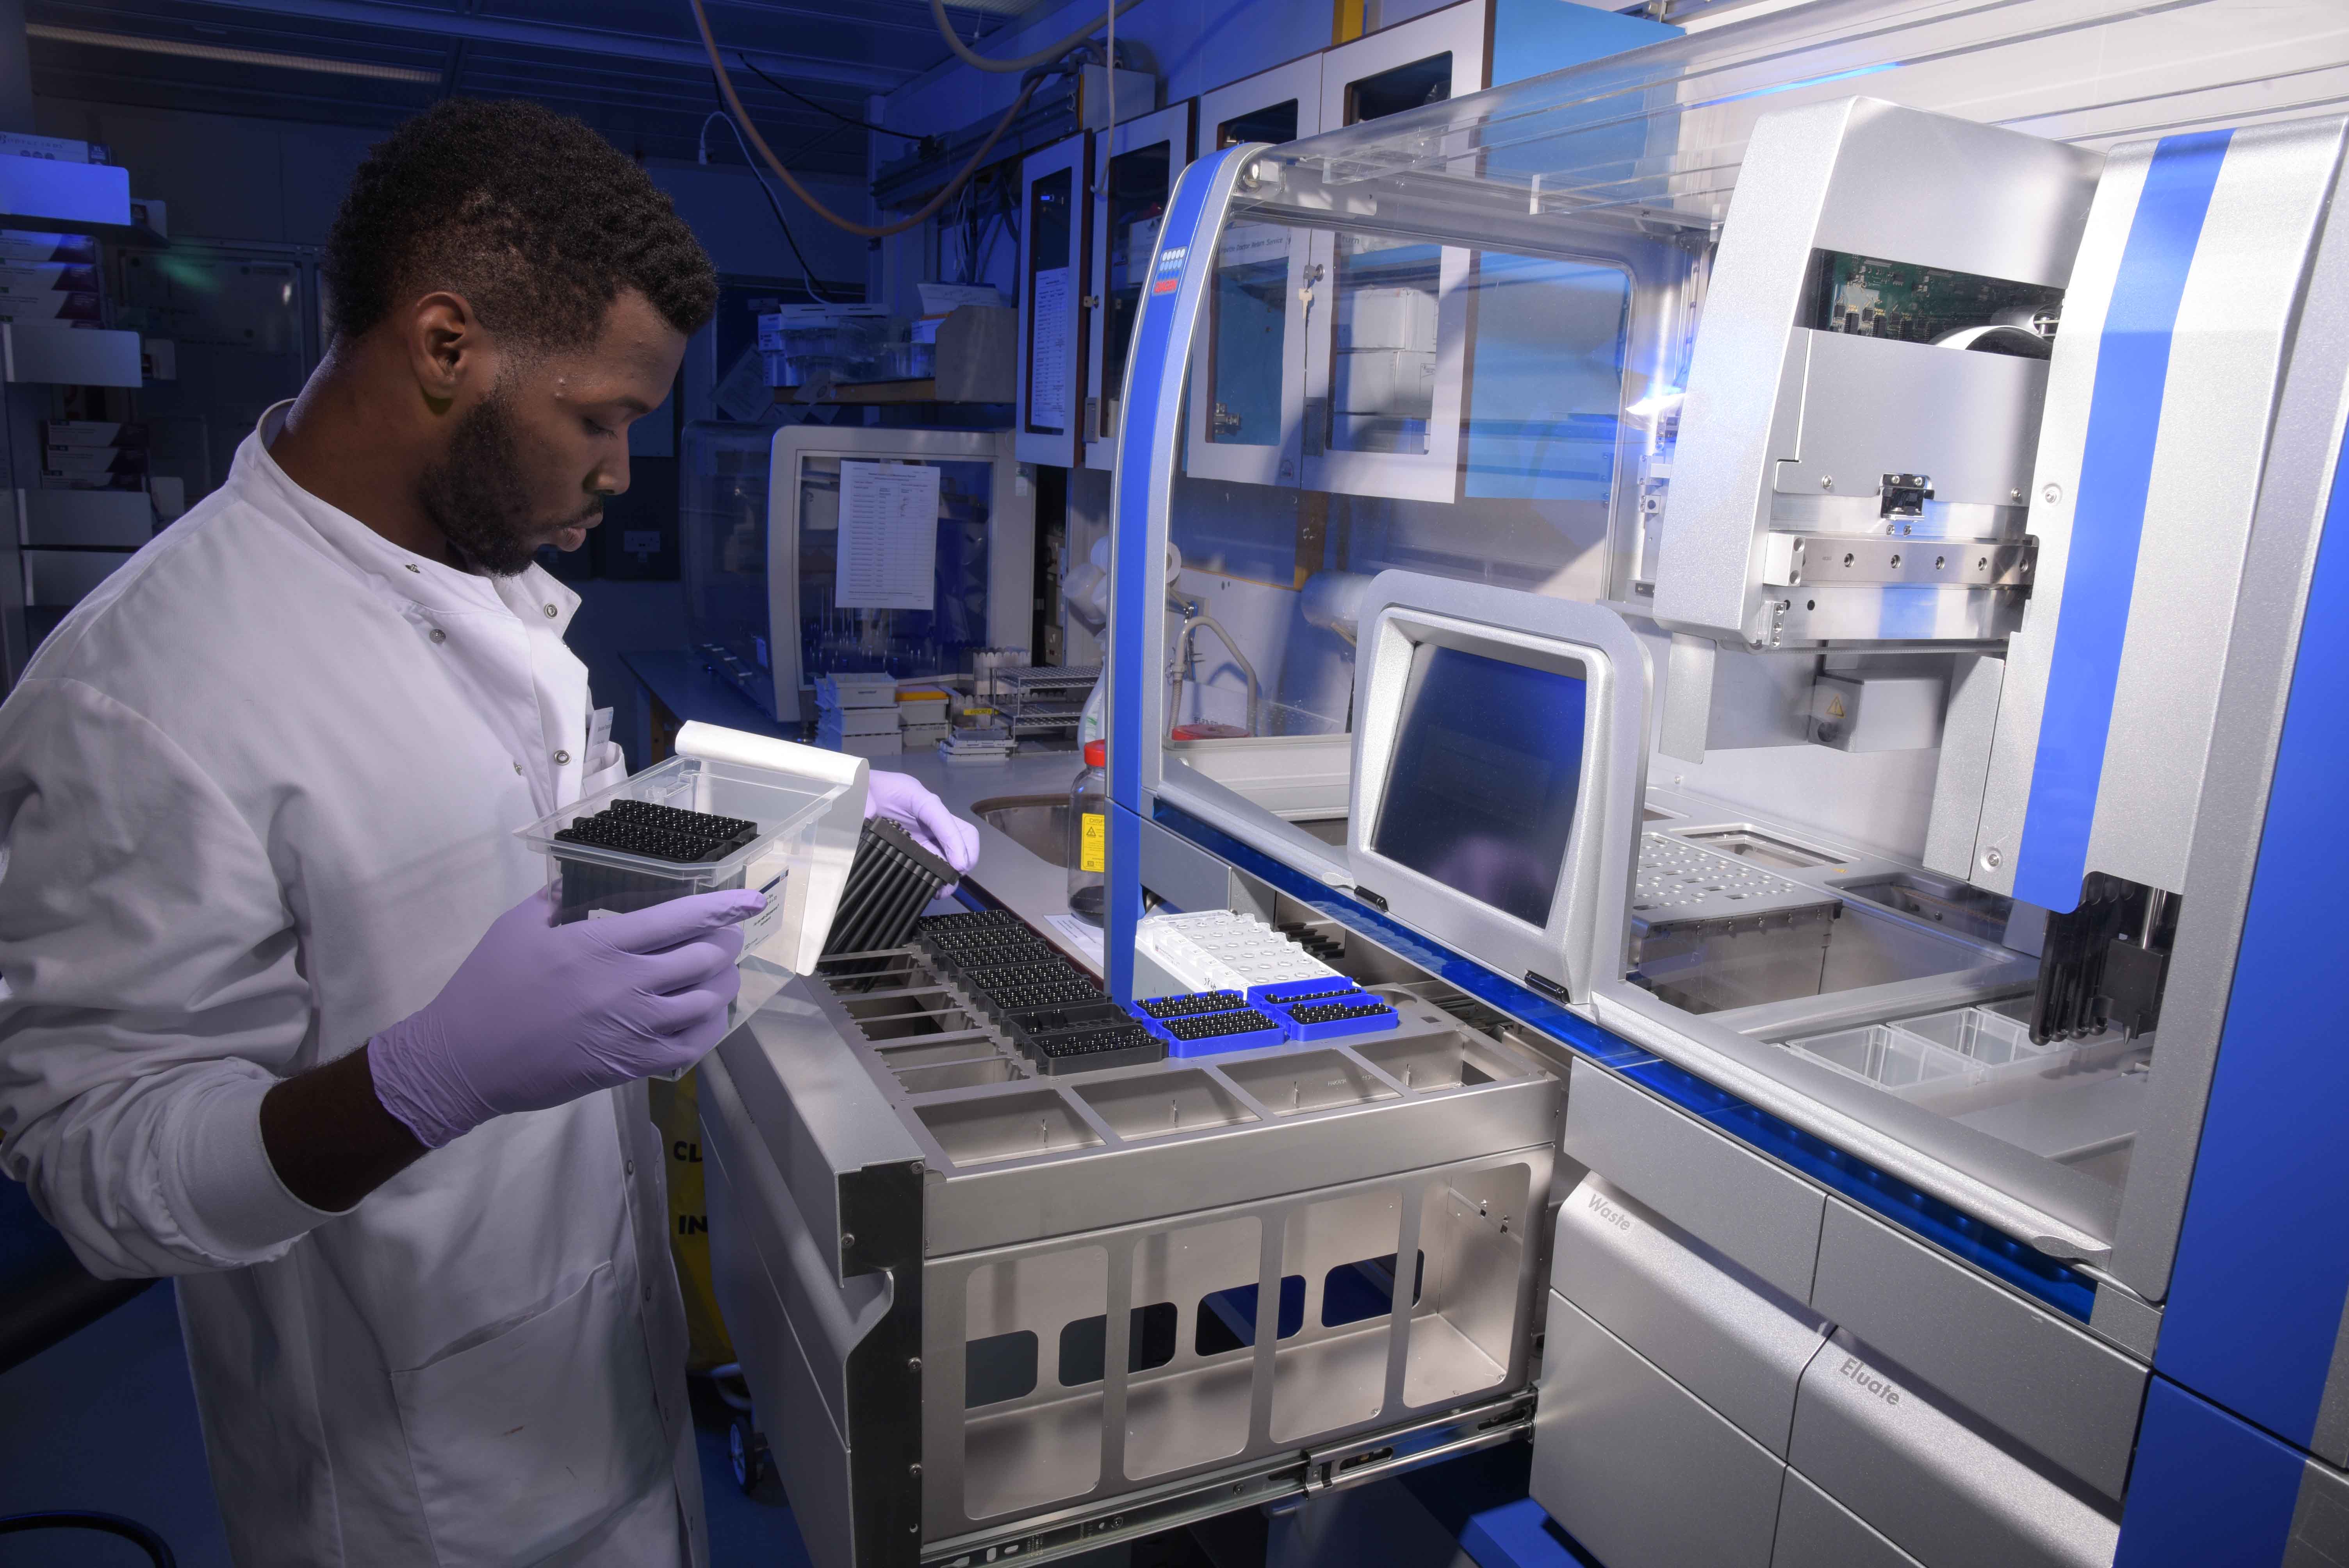
I haven’t done a case study blog for a little while, so I thought I’d write about a recent job for NHS Blood and transplant. They were looking for something a bit different for the promotion of the their Gene Sequencing department. An area of the business that has developed over the years with the technology and the science.
They needed images of their processes that illustrated the high tech nature of the process and helped display the quality of their work as one of the leaders in this particular market place.
The problem was like most laboratories the equipment tends to be boxes or cabinets with a small control screen on or an electronic box that you can’t see anything going on. This is backed up with benches normally crisscrossed with cables or elements needed to make the boxes work. How to make this sexy?
The style for some years has been to do “natural light” images, with digital cameras it’s the easy answer, it can be done quickly and easily with little more than a digital camera and the end result is the same as everyone else’s natural light shots.
NHSBT needed something more so I suggested an old technique that might lift their key shot – introducing a little coloured lighting into their image. Take away from the reality and add a mood colour that could match their branding and also reduce the impact of the background in the image which is always messy in a laboratory.
To do this technique one needs the complete opposite of the advantages of the digital camera of today, the ability of recording in low lighting. One needs lighting strong enough to over power all other lighting sources and start with an exposure that is totally black. Controlled commercial photography basics.
One then adds in lights specifically to light the areas required in the manner and style of the required photograph. This is actually the basis of all studio photography, a darkened space with light introduced by the photographer to full fill the requirements of the image.
The drawback with this technique is that certain areas of an image like computer screens can’t be front light with lighting to produce what the human eye sees they are backlit and therefore would require a time exposure of the natural light for them to become visible. Which of course would then give a time exposure of the natural light in the room and completely ruin the desired effect.
So to produce an image of this nature where you need natural lighting colour balance on the main subject, in this case the technician and the machine in question. One must first work out where you are shooting from and fully understand your desired finished image. Then build the lighting to achieve that.
Any spillage of the white lighting on the main subject on to the area being lit as a background colour will degrade the effect so careful control of the lights direction and strength have to be considered. For the same reason any spillage of the background light back on the main subject can also add effects not desired.
With these parameters in mind the photographer tends to see a shoot in his head planning three dimensionally cones of light with varying dimensions that won’t overlap to achieve their goal.
With this particular shoot the difficulties were a long narrow aisle between work benches and the inability to place a light forward of the technician behind the machine since it was on a bench against a wall.. The easy bit was we were only trying to achieve two colours, natural for the main subject and a blue cast for the background.
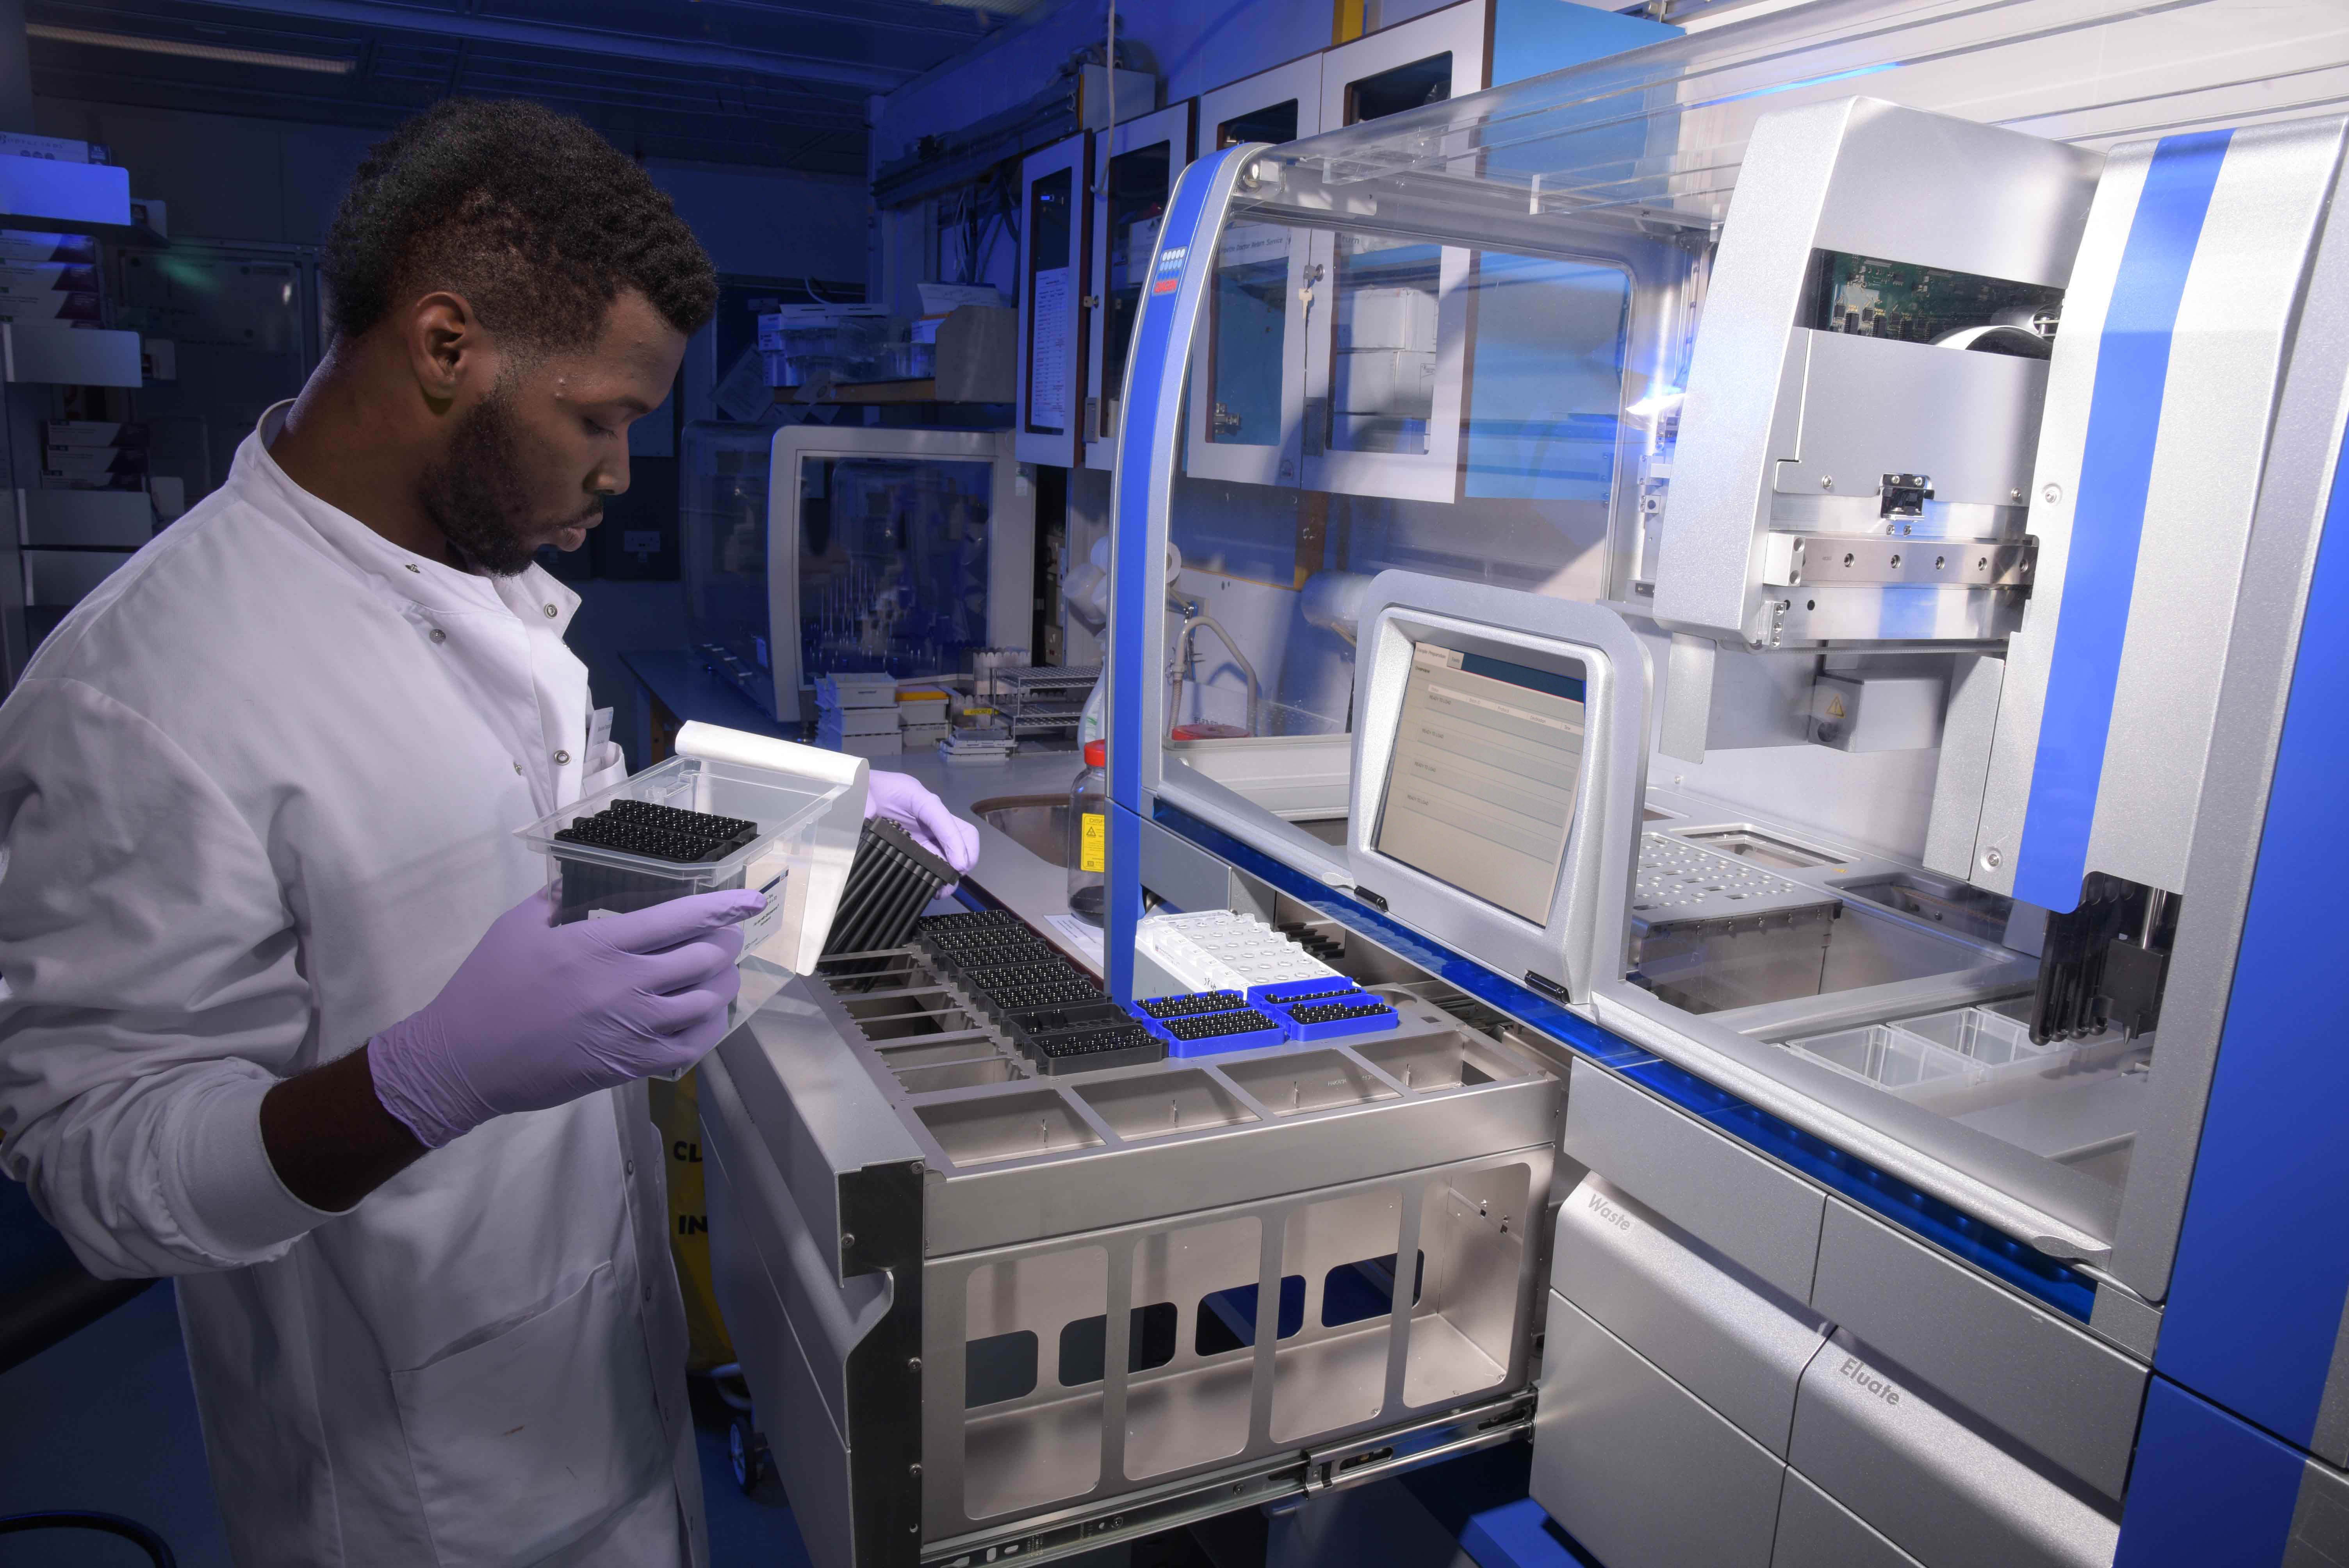
The complications come in with the computer screen, which as mentioned, needs a time exposure to fully register the luminance of the screen. In this case that time exposure was achieved by shooting the screen at the correct exposure to register as a separate shot and comping it in at the post production stage.
Post production one can also see further tidying can be achieved of elements that couldn’t be removed at the time in real life, in this case cabling that stood out even under the blue lighting and some signage inside a machine in the background.
Producing images of this style was where the industrial photographers of the late 20th century learned their lighting skills, unfortunately many of today’s younger photographers have never experienced the need to do this style of shot or have the lighting power to achieve it which is a great shame as it’s a good discipline to understand and control light if you are an image maker.
Brian Russell
Copyright July 2015.